

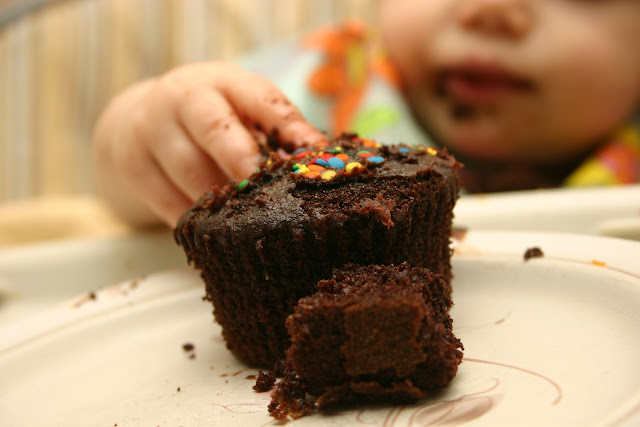
 Found this adorable blog dedicated to sharing your child's artwork, writing, whatever. Users are free to comment on the artwork and as any parent knows, kids LOVE feedback. The creator, Brian, found the inspiration for the site in a box full of his old schoolwork and drawings that his parents had kept over the years. Poring over all the old papers, Brian and his wife were entertained by how bizarre and
imaginative a lot of the work was. He knew that there must be millions of people with similar material to share, so he decided to create a forum in which the artwork and creativity of children everywhere could be showcased. Pictured at top is 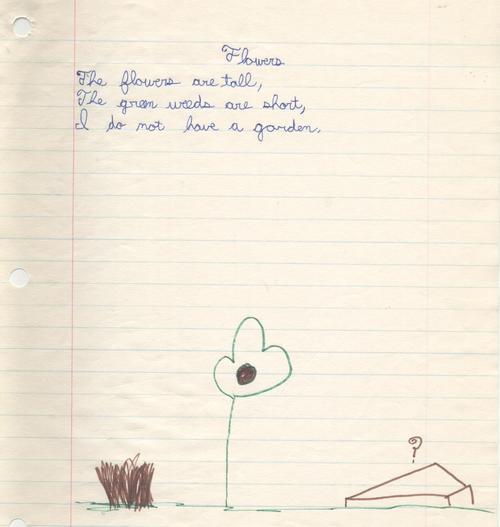
Behind the bathroom curtain
Friday, May 16


99 red luftballoons
Tuesday, May 13
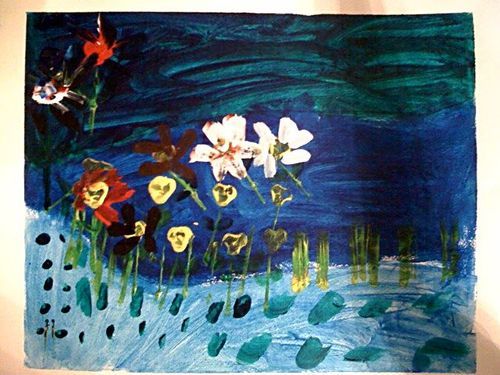
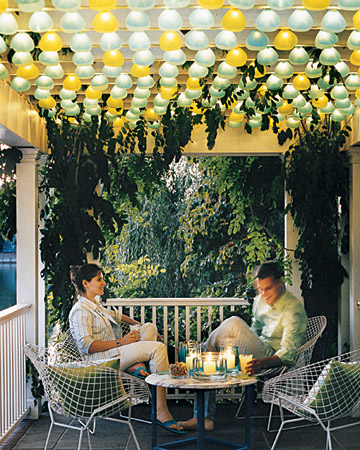
 I'm really debating whether or not to combine lily and molly's birthdays. They are close enough so that the decision becomes rather difficult- almost exactly one month. I don't think most people would come to one party and then another in three weeks. And hey, my birthday is in there too! I could make Molly's one week early and lily's one week late so they weren't as close together. Ugh. I don't know but I'm going to have to decide soon. At any rate, I'm contemplating ideas and I like these very round red balloons.
  Very retro. Very large. Very eye candy. You can buy them here!
I thought about a 99 red balloons theme but Brian tells me that song is actually about Nuclear War. Am I the only one who didn't know that? I included some more party inspirational pics for anyone else in the same boat as me. Enjoy.

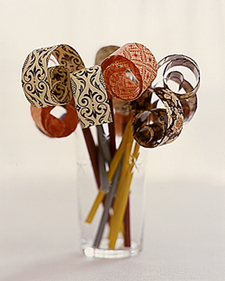

Business cards for moms!
Monday, May 12


My sandbox is prettier than yours
Tuesday, May 6
 This makes me wish I threw out my old sand from last year and bought new sand. I found this while perusing pavers at Walmart yesterday. The bags were twice as much as the tan (aka boring) sand but I think at $8 per 20lb bag, $28 would fill a small sandbox. Not
  too bad. It came in vibrant hues of pink, purple, blue and green. All of which are guaranteed to stand out on your brand new carpet:)
Paperdoll ME!
Sunday, May 4
 OMG! I just found the cutest idea for a birthday party: personalized paper dolls of your child. I did my paper doll in Photoshop. This was the easiest way to whiteout the background, resize the dresses and add tabs. But if you don't have a photo editing software you can still make these. First, have your child stand in front of a white background. Mark where they stand on the floor with tape. Then mark where you are standing on the floor. For the basic doll, I'd recommend photographing your child in their undergarments or bathing suit as this looks more authentic. Have your child hold their arms out to make room for a myriad of
 outfits. Then, having your child stand in the same place, photograph them in a variety of outfits. Be sure that they stand in the same position. Print the doll and outfits on heavy paper. Cut out images very carefully or use an exacto knife. Make accessories like shoes, hats, gloves, whatever tickles your fancy. Laminate doll for durability. Another neat idea would be to add magnets to the backs of all the accessories and dolls and post them on your refridgerator. Make dolls out of your own family (dog included!) The possibilities are endless.
Not too modern not too disney
Tuesday, April 29


Vintage wallpaper. Animal shapes. Who could resist?
Saturday, April 26


Like mommy like daughter.
Thursday, April 24

 I just bought this FABULOUS dress at Target on sale for ONLY $11.48 (online for $45) which reminded me of a post DesignMom published a couple weeks ago about this darling designer of children's dresses-
Ses Petites Mains. Their dresses would totally go with my new Issac Mizarahi find. Their prices are really high but what else would you expect from a small designer with a french name?


Pretty things for my car
Monday, April 21
 When you learn to sew it is both a boon and a burden. Suddenly all those cute things you might have bought without any physical effort other than typing in your credit card number become 70% cheaper if you sew it yourself. Case in point- my previous car seat cover post. After looking at all those yummy fabrics I got jealous and dreamt of having one myself. The price was a little steep for me to sink a chunk of my very limited capital into, so I sifted through the simplicity stacks and found pattern 4636. Whatja think? Lily was so excited to sit in it she barely let me put on the final touches.
  I've been thinking about making one for Molly but I'll have to cut my own pattern for an infant version with hood. Now that I finally got my cigarette lighter fixed, the new seat will go nice with my new XM:) No more five year old Beyonce. Fred, Ethel and Lucy here I come.
Oh one more thing, the simplicity pattern came with a shopping cart cover. I might try that one next. If you have any questions about the pattern just send me a message or comment!
Where the line blurs.......
Sunday, April 20


Some ideas to make your life easier
Saturday, April 19
 This looks great for mommies on the go. You could feed your child without a messy open container. Either in the backseat on a long car ride, a picnic or just for everyday feeding. Whatever. Thought I'd give it a shout out. You can buy it here.

Spring Picnic
Friday, April 18
 Today was the warmest day of the year (so far). We didn't have any grand plans so we spent the afternoon eating a picnic lunch in the backyard. Molly enjoyed the outdoors, spellbound by all the sights and sounds she doesn't experience indoors.
We had fried chicken and french fries. Lily of course ate one bite and didn't want anymore, requested an apple, ate five bites then said she was full. Ugh. We finished the lunch by adorning our hair with flowers and throwing the apple to the birds.

Martha Finds: Simple fixes for simple foibles

Okay, I didn't mean to get your hopes up if you thought I had some remedy for chocolate milk stains (insidious aren't they). But this is a neat way to cover them up.
Embellish a solid-colored shirt with bright butterflies in flight -- and
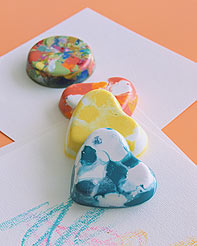 Got crayon crumbles? Try this!
This is such a fantastic idea! Not only do you use the last bits of crayon that were annoying you at the bottom of the crayon box BUT it can also be a fun activity for your kids. Encourage kids to come up with combinations: A blue-and-white blend for drawing the sky, for example, and a mix of reds and oranges for sunsets."
Tools and Materials
Kitchen knife
Old crayons
Mini-cake tins (we used pans with heart- and circle-shaped pockets)

Crayon How-To
1. Parents can use the knife to chop crayons into pea-size pieces, taking care to keep colors separate so kids can combine them as they like.
2. Preheat the oven to 150 degrees while children fill the tin with crayon pieces, arranging them in interesting designs.
3. Bake just until the waxes have melted, 15 to 20 minutes.
4. Remove the shapes after they have cooled. If they stick, place tray in the freezer for an hour, and the crayons will pop out.

I have this problem frequently- A beautiful print (often old navy) dress, no waist. I can usually sew a sash into the dress but if you aren't the seamstress type here's a great idea! A suede hole punched sash. This is great because you there's no fraying and if you buy a sturdier suede material it will hold its shape better. This belt lends itself to variation: Once you get the hang of it, you can even make it without the pattern.
Tools and Materials
1/8 yard of 60-inch-wide fabric|
Hole punch
Yardstick
Erasable fabric marker
Belt How-To
1. Fold fabric in half; place widest part of pattern at the fold. Pin in place with quilting pins, which are long and strong, ideal for heavy fabric like this.
2. Extend the straight lines of pattern to the bottom of the fabric with an erasable fabric marker and yardstick.
3. Cut out the belt. With the hole punch, perforate the edges, positioning holes 1/4 inch apart and 1/4 inch in from the edge.
4. Wrap belt around waist, and tie in back.

This is a great idea if you have a blanket that you don't want to *permanently* alter but would still like to use for grassy outings. You can waterproof a cotton or wool blanket by adding a protective backing of water-resistant fabric such as ripstop nylon or oilcloth, and safely lounge on damp grass.
Waterproof Blanket How-To
1. Cut fabric to the exact dimensions of the blanket, adding 1/2 inch on all sides for hem. Fold edges of backing under 1/2 inch, and place 2-inch-wide twill tape on top; machine-stitch both inside and outside edges of tape around entire perimeter, mitering tape at corners.

2. With a hammer or mallet, fix snaps along edges of the backing and the blanket (snap kits with instructions are available at sewing stores): Center a snap in the twill tape at each corner, then attach snaps at intervals of 10 to 12 inches around the whole border. Attach the "male" half of snaps to the backing first; then mark the placement of the "female" half of snaps carefully on blanket for a good fit, and attach snaps. The backing may be detached when it is not needed.
OR (my idea) if you didn't want to mess with the snap kit you could add a long piece of velcro while sewing the twill tape to the blanket (killing 2 birds with one stone). Just be sure to put the soft side of the velcro to the blanket and the rough side to the waterproof material so that you can reuse the blanket without any course obstructions.

